Program Page
Program Page Guide
Web administrators, see program management to learn how to add new programs.
Hero Image or Video
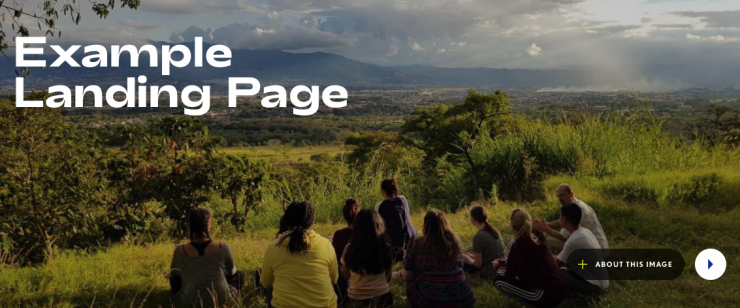
The program title appears at the top with an image or video behind it: this is the hero image.
To change the hero image or video, go to the Dashboard > Images.
You can add the image to the Landing: Academics group or to the department group.
Add a new image. Please upload a JPG/JPEG image at least 1600 x 480px.
Tag the image with Hero and the program page title.
For example, tag with: Hero and Theatre Design and Technology Major.
If you tag a few images, then a random one will appear when you open the page.
You can also show a video from Vimeo. The image is always necessary, in case the video fails to load.
To show a video, add a Vimeo link to the video on the right hand side of the editor.
Copy and paste the Vimeo video URL (YouTube links work too, but we do not recommend them).
To edit the title, go to the toolbar Page Details > Edit Page Details and change the page title.
Navigation Anchor Links
The blue navigation links go to different sections of the program page.
The links appear automatically, after you add an anchor link using the bookmark button.
We recommend adding 4-6 anchor links maximum.
At first you might only see one link, don’t worry! More links will appear when you add anchors.

To add an anchor, select a heading or some text, then click the bookmark button in the toolbar.

Enter an ID to the link. The ID becomes the link title in the blue navigation, after you save the page.
For example, select some text, click the bookmark, and enter “Outcomes” as the ID. The word “Outcomes” will appear in the blue navigation.
Use an underscore for two words. For example, enter “Program_Highlights” and the words will appear with a space instead of the underscore.
Introduction
The introduction is the first editable section of the page. Click Edit Page to edit.
There is an already an anchor link to the introduction, if you like, you can remove or replace this link.
Left Sidebar

Edit the page to change the sidebar links.
You can add buttons below, linking to a minor or concentration.
Contact information can be added by editing the page (it stays hidden if you leave it empty).
Blue Grid
Next up, is a colored box with a heading on the left, and two column of text on the right.
Edit the page and click on the text to edit. Click the green + button to add more rows.
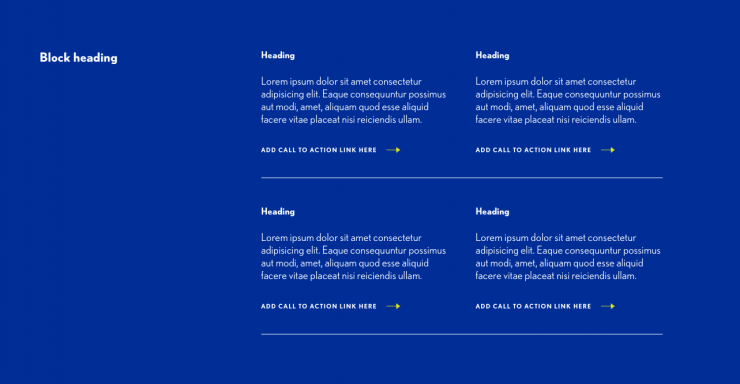
Note: it’s possible to change the color behind the text to a set selection of colors. This requires editing source code.
Related Programs
The header “Related Programs” is editable if you Edit page.
“View All Programs” links to the program finder and is not editable.
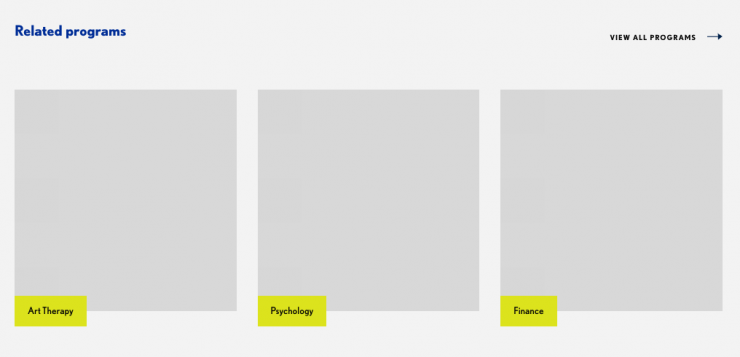
Three related programs appear below, with an image, linking to each program.
Edit the program profile to tag with related programs.
Tag this program profile with related programs. Tags should match the program name exactly. For example, tag with “Drama Therapy”.
If you add more than 3 tags, it will show 3 random programs each time you refresh the page.
Editable Page Areas
The next few areas are editable. Try to fill out the areas one by one, so they alternate between white or gray backgrounds.
There is some example content already in these areas. You can can fill out or edit the examples, or delete this content entirely, and replace it with different content, widgets or layout blocks.
To add a widget, go to Insert > Widget and select a widget.
To add a layout block, go to Insert > Layout Block and choose a layout block style.
Student Quote Slider Widget
Widget content comes from the group Landing Pages: Academics and is tagged with the program title.
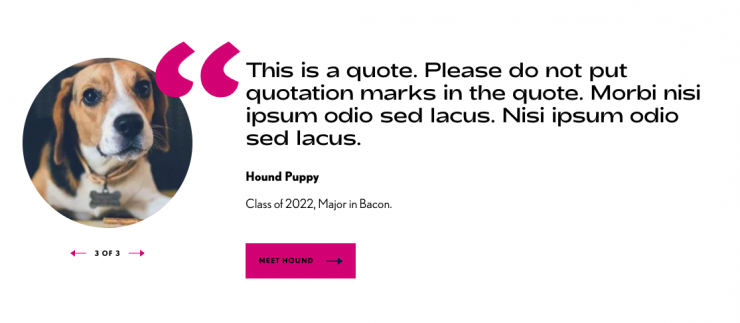
This widget shows up to 5 Student or Alumni profiles in random order.
Go to the Dashboard, then switch into the Landing: Academics group.
Go to Profiles > Student or Alumni to add or edit profiles and enter a quote.
Please include the Class Year and Major field.
Profiles must be tagged with the program title, and have a quote and photo to appear in the slider.
Statistics Widget
Widget content comes from the group Landing Pages: Academics and is tagged with the program title.
This widget shows up to 3 Statistics blurbs in random order.
Go to the Dashboard, then switch into the Landing: Academics group.
Go to Blurbs > Statistics to add statistics. Click +Add New.
Add a number or statistic in the title (eg 20,000) and a short one or two-line paragraph in the body.
Tag it with the program title.

Center Image or Video
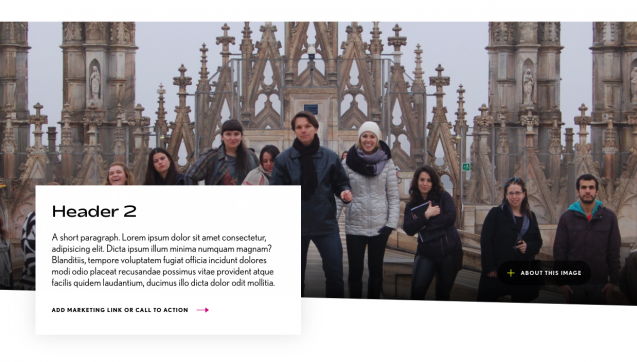
Lower down the page, there is another full-width image.
You can add the image to the department group, or the Landing: Academics group.
Please upload an image at least 1600 x 900 px.
Tag the image with center and the program title.
If there are a few tagged images, then a random one will appear.
To show a video instead of an image, add a new image, and paste the url to a video on YouTube or Vimeo in the right hand side of the image editor. The image is necessary, in case the video fails to load.
The text on the left hand side is editable. Simply edit the page to change the header, text and link.
Latest News Widget
Show latest news stories related to this program with the Program Page News Widget.

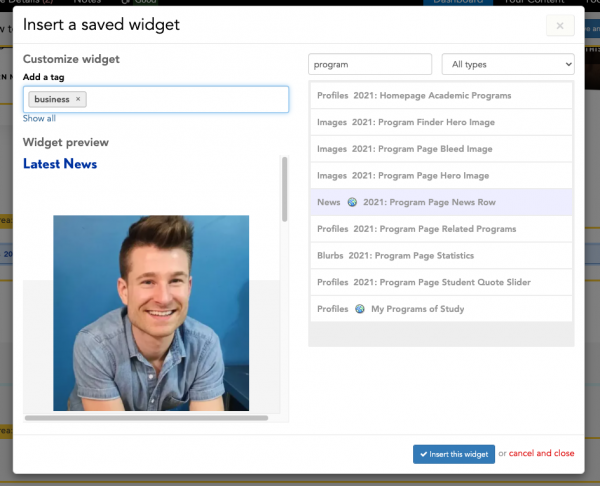
Go to Insert > Widget and search for the Program Page News Row.
Then, on the left hand side, add a tag to the widget to filter stories by tag. Add the department name as the tag, then click Insert this widget.
Then tag stories with the same department name, and they will appear on the page, newest to oldest.
Yellow Grid
Next up, is another colored box with a heading on the left, and two column of text on the right.
Edit the page and click on the text to edit. Click the green + button to add more rows.

Note: it’s possible to change the color behind the text to a set selection of colors. This requires editing source code.
Prefooter Heading and Buttons
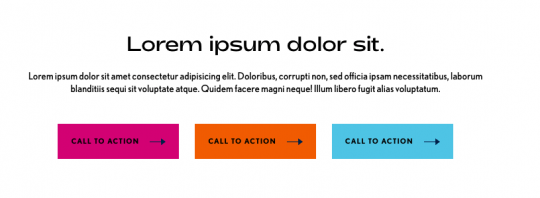
The last area has space for a heading, small text and 3 buttons.
The small text is already styled with the toolbar Formats > Small Text.
The links are styled as buttons with the toolbar Formats > Button (choose a color).
